How to Tell If Your Lawn Mower Belt Is Worn?
- Share
- Issue Time
- Apr 21,2023
Summary
A damaged lawn mower belt will automatically require belt replacement, so how should it be replaced? When should you replace your lawn mower belt? Read on to learn more.
The mower blades on a zero-turn mower are not driven directly by the PTO (power take-off) shaft or the engine crankshaft. Instead, they're turned by a system of pulleys driven by an electric clutch and a belt driven by the engine. Too much technical information? That's okay, you don't necessarily need to know all of these, but what you do need to know is that mower belts wear and will eventually break if neglected.
When to Replace Lawn Mower Belts?
A damaged zero-turn mower belt or a damaged lawn tractor belt can automatically require a belt replacement, but how do you spot it before it breaks down while mowing and affects your weekend schedule? There is no set time for the lifespan of a lawn mower belt, but increased use of the mower will shorten the time between belt replacements. In short, more use equals more wear.
Additionally, mechanical failures such as belt failure or a stuck pulley can cause the mower belt to break prematurely. If your belts are wearing more often than normal, you may have purchased a poor quality belt, or are experiencing a mechanical failure in the form of a stuck pulley, a burr (sharp metal rough spot) on the pulley, or some other disturbance along the belt's path.
How to Tell if Your Lawn Mower Belt Needs Replacing?
Just a visual inspection will tell if your lawn mower belt is past its useful life, and it doesn't take an experienced mechanic to see signs of wear just before they break. The average homeowner will be able to spot wearing a belt as long as they know what to look for.
These signs indicate when your lawn mower belt may be failing and need to be replaced as soon as possible:
1. The Belt Has Side Wall Damage.
Mower belt edges should be smooth and even along the entire length of the belt. Even a small part of the belt is at risk of breaking and should be replaced.
2. The Side Walls of the Belt Are Glazed or Charred.
Look at the edge of the belt that touches the pulley. If it looks shiny, shiny, or burnt, it needs to be replaced.
3. The Belt Is Cracked.
If the belt becomes brittle and deteriorates to the point of cracking, even shallow cracks, the risk of breaking is high and will need to be replaced.
How to Replace a Lawn Mower Belt?
Replacing a lawn mower belt is easy and doesn't take too much time, even for those without much mechanical experience. Just a few wrenches and about 1.5 hours on a Saturday morning. The following are the detailed steps for you to replace the lawn mower belt:
1. Set the cutting height of the mower to the lowest position.
2. Remove the belt guards on the left and right sides of the mower deck.
3. Pull the belt off the left spindle pulley to relieve belt tension on the mower belt idler spring.
4. Identify the mower belt idler arm and remove the hardware/guide above the belt finger to gain access to the idler spring hook.
5. Using safety goggles and an adequate spring-pulling tool, remove the spring from the idler arm assembly.
6. Raise the mower deck to the highest cutting position.
7. Loosen the hardware securing the idler assembly to the mower deck and remove the idler assembly. To remove the nut from the bolt, another tool is needed to hold the bolt head in place under the deck. Be careful when reaching under the mower deck.
8. Return the mower deck to the lowest cutting position.
9. Remove the hardware securing the belt fingers from the rearmost idler pulley and remove the belt fingers.
10. Remove the belt from the clutch pulley located under the engine.
11. Remove the belt.
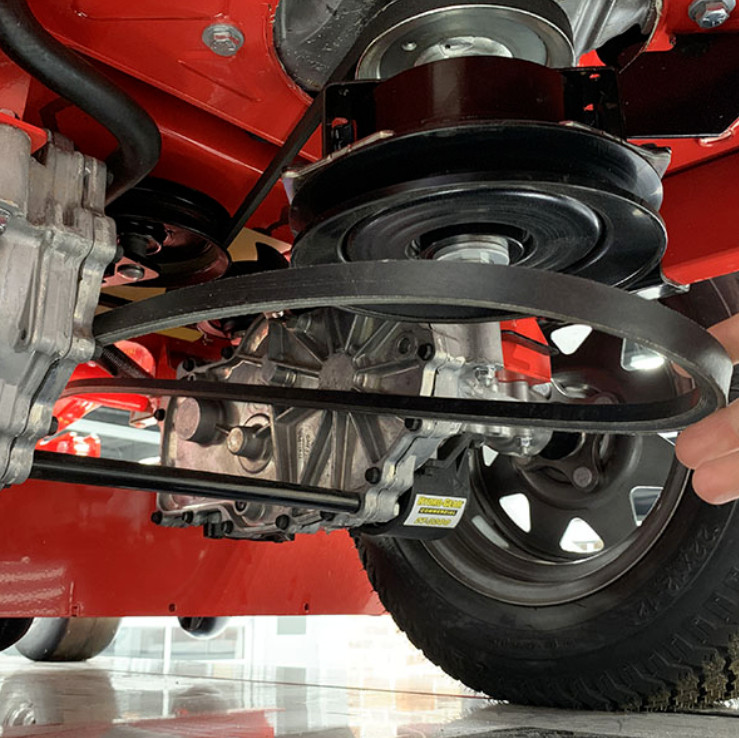
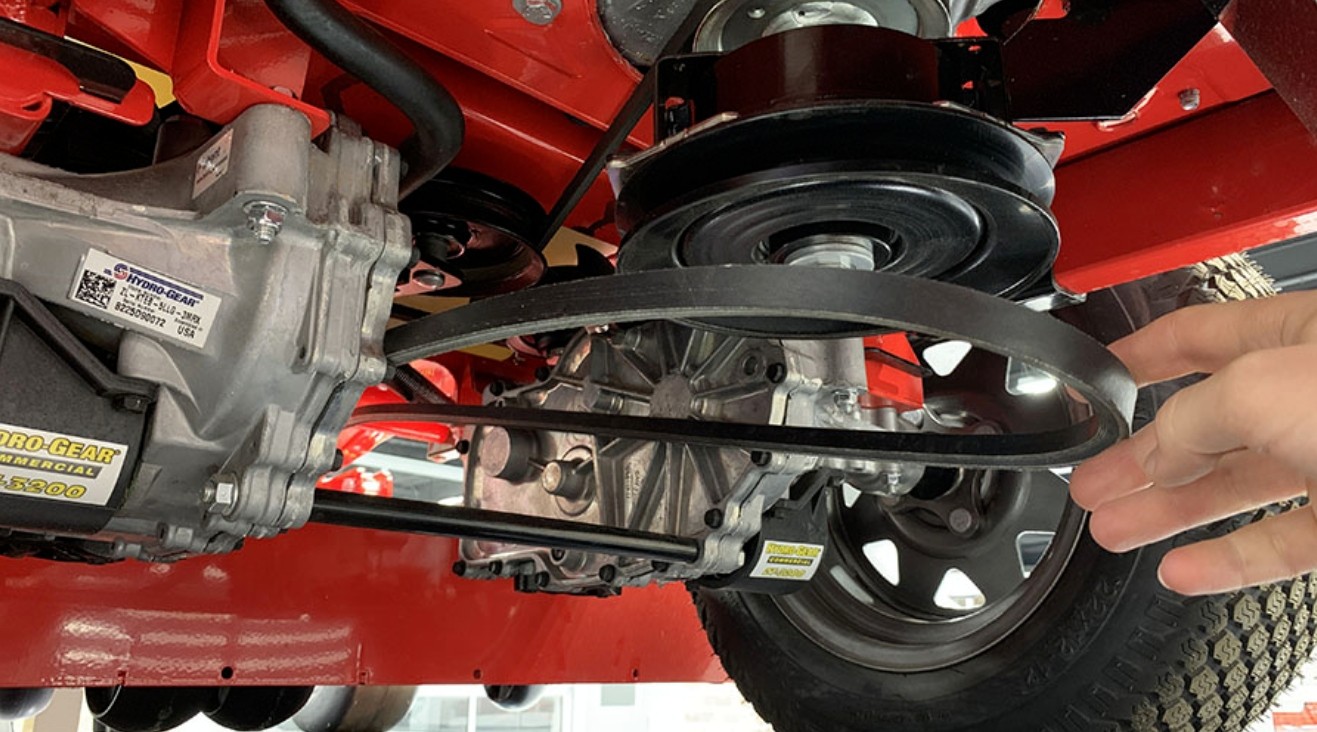
12. Install a new mower belt over the spindle pulley and idler pulley on the mower deck. Refer to the diagram in your equipment's operation manual to see exactly how the belt is routed.
Also, it is important to install the belt in the correct orientation. If you look closely at the belt, you'll notice that the belt has a "V" shape, with one side of the belt having less surface area than the other side of the belt. It is very important to install the belt so the side with less surface area is against the main shaft pulley.
13. Make sure the belt rests on the rearmost idler pulley and reinstall the belt clip for that pulley with the original flange nut.
14. Install the mower belt on the clutch pulley on the rear of the unit.
15. Put the idler assembly back in place. Make sure the large flat steel washer is between the idler and the deck and the small flat washer is on top of the idler.
16. Raise the mower deck to the highest position and reinstall the idler assembly hardware, but hand-tight only. Do not fully tighten the hardware. Then, move the belt under the idler pulley.
17. Reach safely below the deck to access idler arm assembly bolt heads. Hold the bolt heads in place and tighten the nuts to secure the idler arm assembly.
18. Lower the mower deck to the lowest cutting height.
19. Reinstall the belt clip into the idler arm. Then, while wearing the goggles, reinstall the idler snap hook around the idler assembly.
20. Make sure the belt is tensioned and properly aligned in all pulleys.
21. Reinstall the spacer onto the idler assembly and secure it with the original flange nuts.
22. Reinstall the left and right belt covers with the original hardware.
Where to Order Lawn Mower Belts?
If your belt is worn out and would like to try this procedure yourself, welcome to visit our product listing or you can contact us directly to get the lawn mower accessories you need.
HUSTIL is a professional custom garden tool spare parts manufacturer with 19 years of experience. We provide our VIP users with a full range of accessories search queries, garden tool accessories replacement, and after-sales service. After more than 10 years of strict screening, it now has more than 300 mature supply chain factories for production.